Reviewing Matches with QA Mode
Last updated: September 3, 2026
Direct Bill Automation
This guide explains:
How to enable QA Mode on a Direct Bill statement
How to compare statement data with matched AMS data
How to filter entries by discrepancy type
How to export the QA comparison results
Overview
QA Mode allows you to compare the information received on a carrier statement with the corresponding policy information matched in your agency management system (AMS). The comparison appears directly within the statement table, allowing you to review matches without opening each entry individually.
We recommend using QA Mode after matching is complete and before posting the statement. This provides an efficient way to identify discrepancies and confirm that entries are matched as expected.
QA Mode compares the following fields:
Customer name
Policy number
Effective date
Expiration date
Transaction date
Enable QA Mode
To enable QA Mode:
Open the statement from the Statements page.
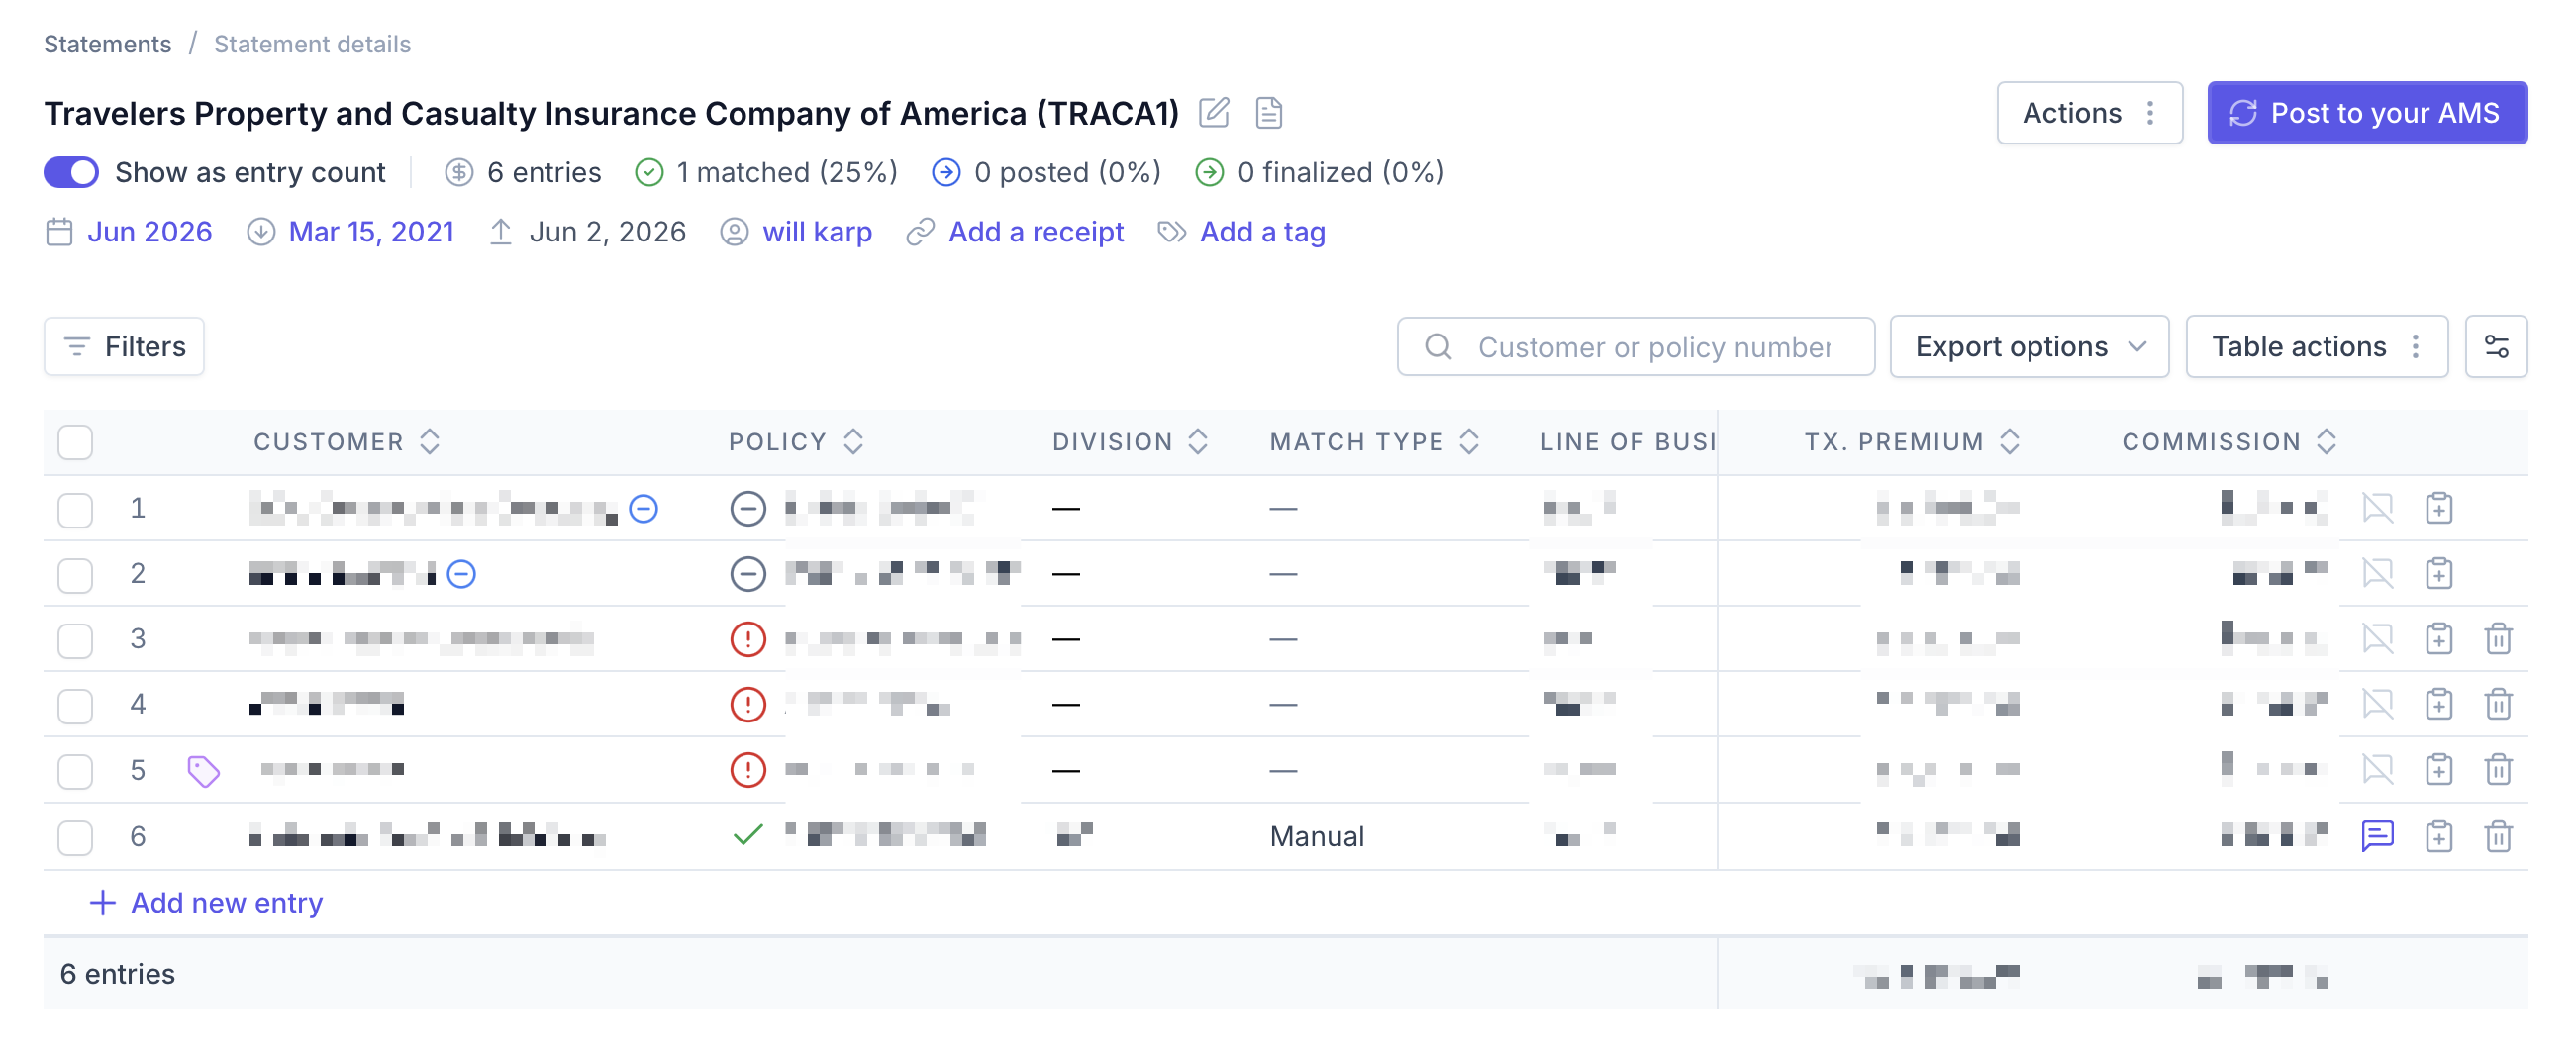
Click Table actions on the Statement Details page.
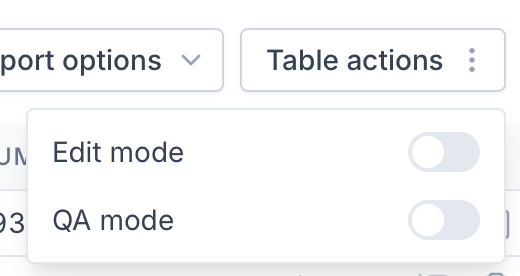
Turn on the QA Mode toggle.
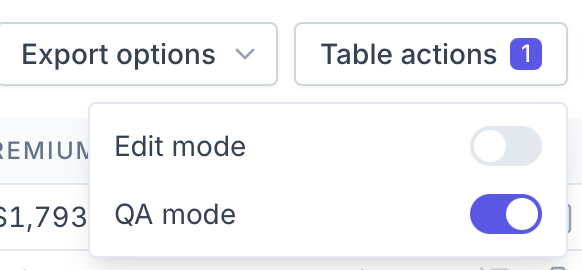
Once QA Mode is enabled, the matched AMS values will appear beneath the corresponding values received on the statement.
Review the Comparison
QA Mode uses color to help you quickly identify differences between the statement and your AMS:
Orange text indicates a discrepancy between the value received on the statement and the value from the matched AMS policy.
Gray text indicates that no discrepancy was identified.

When available, hover over a highlighted value to view additional information about the discrepancy.
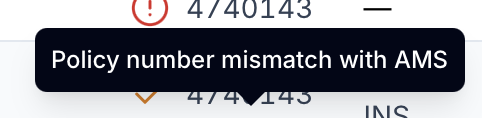
Note: A discrepancy does not necessarily mean that the entry was matched incorrectly. It only indicates that the statement value differs from the corresponding value in your AMS. Review the entry to determine whether the match is appropriate.
Filter by Discrepancy Type
When QA Mode is enabled, the Discrepancy type filter becomes available in the upper-left corner of the statement table.
Use this filter to review discrepancies for one or more of the following fields:
Customer name
Policy number
Effective date
Expiration date
Transaction date
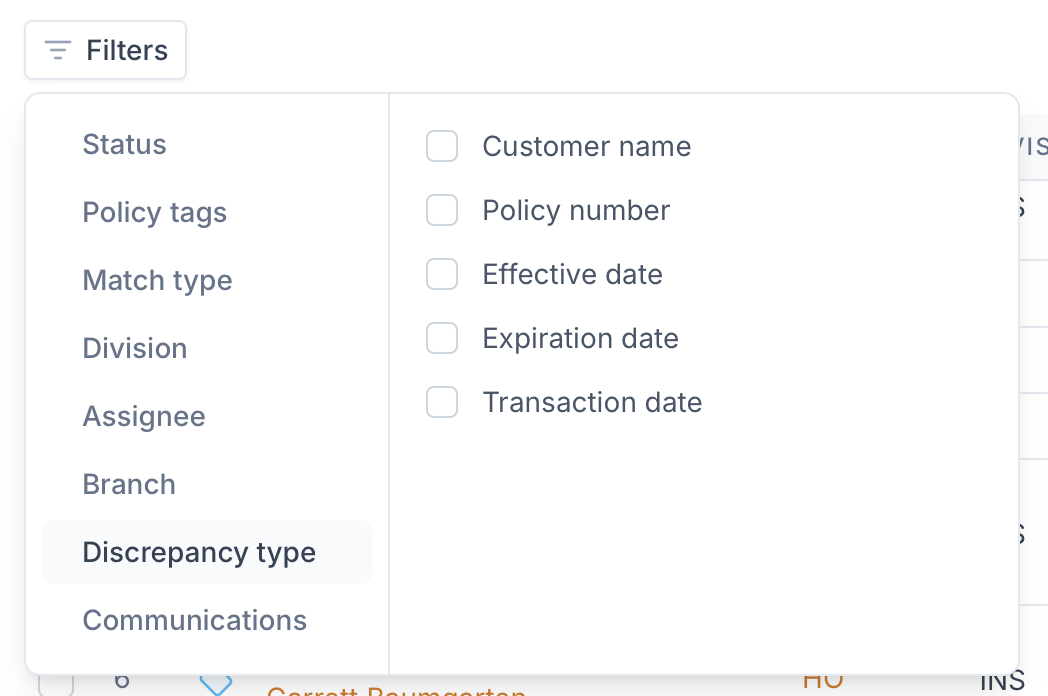
Filtering by discrepancy type allows you to focus on specific differences instead of reviewing every entry in the statement.
Recommended Review Workflow
After all entries have been matched:
Enable QA Mode from Table actions.
Scan the statement table for values displayed in orange.
Use the Discrepancy type filter to isolate specific types of discrepancies.
Review each discrepancy and confirm that the entry is matched to the correct AMS policy.
Correct any matches that require an update.
Complete the posting workflow after the review is finished.
Export the QA Comparison
You can export the QA comparison for offline review, documentation, or further analysis.
Click Export options in the upper-right corner of the statement table.
Select Export QA comparison CSV from the dropdown.
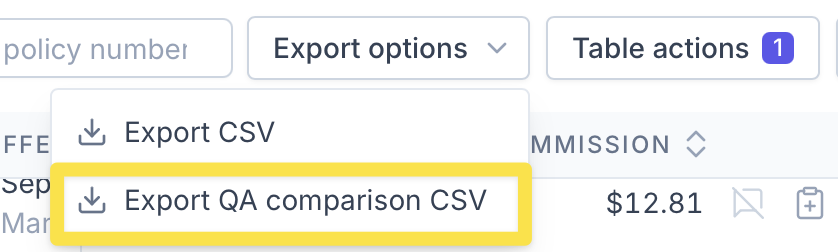
Ascend will generate a CSV containing the statement data and the corresponding matched AMS values.
Frequently Asked Questions
What is QA Mode?
QA Mode displays the data received on the carrier statement alongside the corresponding data from the matched AMS policy. This allows you to validate matches directly within the statement table.
When should I use QA Mode?
We recommend using QA Mode after matching is complete and before posting the statement to your AMS.
Which fields does QA Mode compare?
QA Mode compares customer name, policy number, effective date, expiration date, and transaction date.
What does orange text mean?
Orange text indicates that the value received on the statement differs from the corresponding value in your AMS.
What does gray text mean?
Gray text indicates that no discrepancy was identified between the statement value and the matched AMS value.
Can I view only entries with a specific type of discrepancy?
Yes. Enable QA Mode and use the Discrepancy type filter in the upper-left corner of the table to filter by customer name, policy number, effective date, expiration date, or transaction date.
Can I export the QA comparison?
Yes. Click Export options and select Export QA comparison CSV.
Contact Us
Need more help? Contact us at [email protected] for more help.